

I’ve always been obsessed with make-up. Not so much with wearing it; just how much it can change how someone looks, and how it can make you feel.
I got married in 2014 and did my own make-up, even after having a wedding trial. I don’t wear a lot of make-up, so when the trial lady (who didn’t have much make-up on herself) seemed to absolutely lash the foundation on, she answered my hmmm with… “It’s quite heavy yes, but you will look amazing on the photos”. This didn’t fill me with comfort, as I’d rather not be uncomfortable all day thinking about how much make-up I’m wearing. Plus I wanted my Husband to actually recognise me when I got to him in church!
I put into action a challenge to find my ultimate go-to make-up routine, that I’d feel comfortable with on my wedding day; that would stay on all day; and would be relatively quick to put on.
I’ve always had under eye bags and puffiness, for as long as I can remember. The last few years I’ve attempted numerous serums, patches, creams, even cold tea bags / cucumber / tea spoons, but nothing has made me think “WOW – this works”. I have a healthy diet, and sleep well – even my folks don’t have them, so I had to come up with something that’d make me feel OK again.
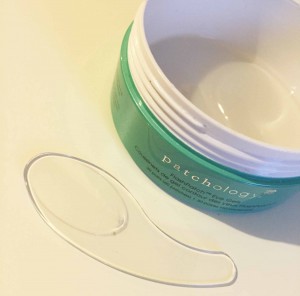
I’m always on Instagram checking things out, when I stumbled across a photo of Olly Murs with some under eye patches on. I did a search and found ‘Patchology’ – I’m not sure if he was wearing these, but I decided to investigate. A search on Amazon.com and I discovered 13 reviews (at the time of writing) and 5/5 stars for Patchology Flashpatch Eye Gels. At $50 + delivery, yes; it’s a pretty expensive beauty item, but this didn’t put me off! So off and I went and purchased a month’s worth.
When they came, I instantly popped them in the fridge. It doesn’t say to do this, but I still use the cold tea spoon idea because it feels so good, and wakes my eyes/face up no end. Putting them in the fridge definitely helps the patches wake my eyes up. The instructions say to leave them on for 5 minutes. I leave them on for about 30 minutes whilst I’m doing other things.
Seeing as though it took me a while to figure out my own make-up routine, I thought I should write about it, as someone somewhere might benefit from even a small part of what I do, and how I do it – in particular covering dark circles and puffy bags. The make-up used throughout is animal cruelty-free 🙂 Some of the items are expensive, however, as they last so long, to me it’s worth it. The Laura Mercier concealer I’ve got was expensive to purchase, but I bought it in January 2015 and still have over 1/4 left – and I use it every day.
Even though I don’t use contouring, I’m forever watching videos on it – it’s incredible what can be done nowadays. I wouldn’t like to use contouring on myself, because it looks quite heavy. Great on film, photos – but in real life, it’s not for me. I prefer a light make-up routine, that I’ll go through step-by-step now.
You’ll find the materials I’ve used at the bottom of this tutorial.
Step 1 – prep
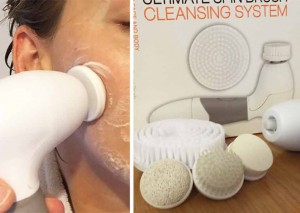
Before I do anything, I wash my face. I do this with a facial brush I found on eBay for £8. It spins round, which makes sure every last bit of dirt comes off my face. I use the small brush (middle) with soap. It leaves my face feeling amazingly clean and ready for the day.
I also pop eye drops into my eyes at this point to get rid of any redness. It also helps to wake them up.
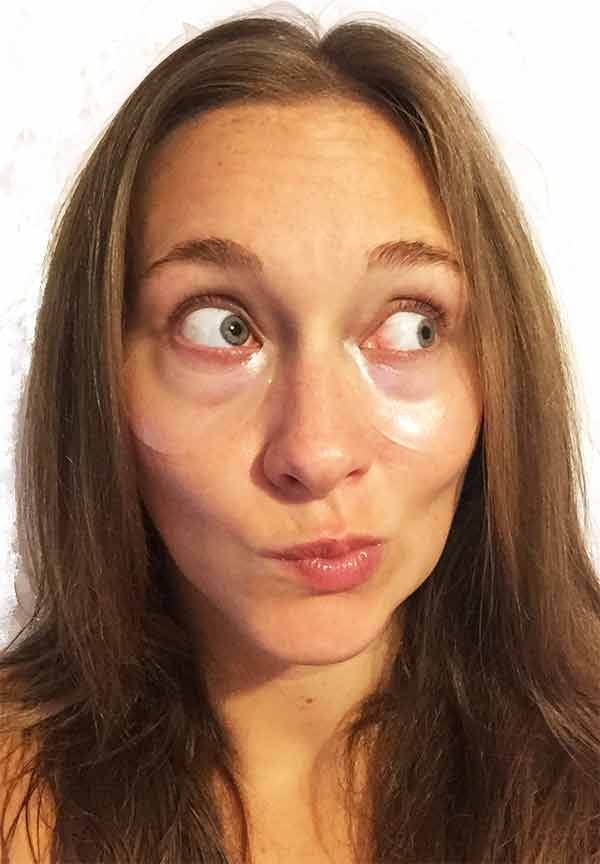
Step 2 – Patches
I leave these on for 30 minutes, whilst I’m doing other things. Although you can just leave them on for 5 minutes to get amazing results.
Afterwards remove any excess serum with a wipe.
Step 3 – Moisturise
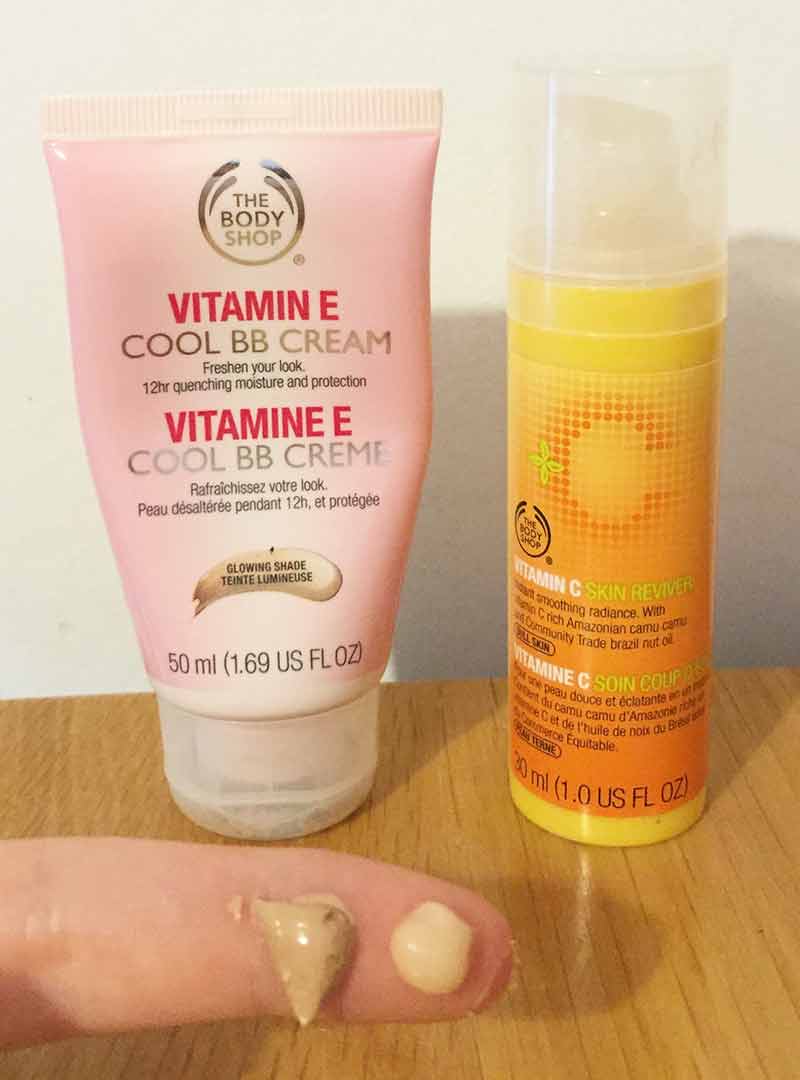
I use 2 moisturisers before I apply my make-up. I use a small blob of each & apply to my face in circular upwards motions. The Body Shop Vitamin C skin reviver makes me look refreshed and awake; Vitamin C is great for skin. The Body Shop Vitamin E BB Cream gives my skin a gorgeous glow (but not too dewey) and gives a slight coverage. Once these have settled in your skin, then it’s time for make-up!
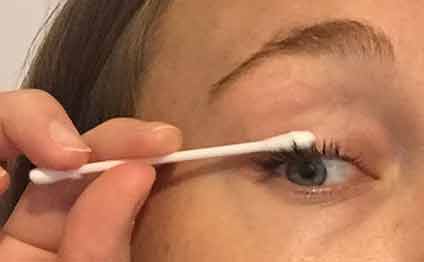
Step 4 – Top lashes mascara
At this point I put on mascara but only on the top lashes. The bottom ones come later. I do it this way so I don’t have to wait for the bottom lashes to dry before I start on my foundation/concealer, and also as I’m not very neat, it’s quick and easy to remove any mistakes with a cotton bud!
Step 5 – concealer
I use Laura Mercier Secret Camouflage because it includes 2 colours; a light and dark. Use the darker (it isn’t actually a dark colour, it’s just slightly darker than the light!) underneath the eye but DO NOT touch or put ANY concealer on the actual puffiness of the eye. Only apply it to the dark bags, and next to the nose.
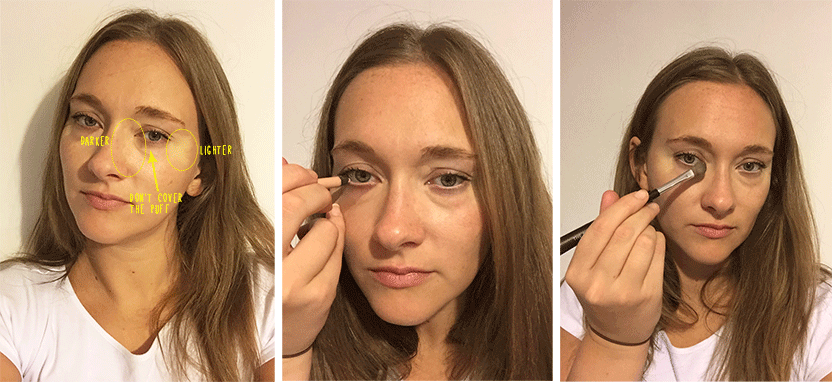
Add cream eyeliner to give a light effect to your eye area. White is also a popular colour, but I feel for me, cream is more of a natural skin colour. Steer clear of black as this will emphasis the darkness of your bags.
Blend in the concealer using a blender brush. Be very gentle, and don’t rush. I start with the darker colour and blend my nose first, then I work outwards. The lighter colour at the edges will help to highlight your face and take the attention away from your bags.
I then pat very lightly & gently foundation over the top of the black under eye bags, not the puffiness. This helps to settle the concealer. Use the same blender brush and lightly sweep from your nose outwards. I use Mac Studio Fix in NC25 for this.
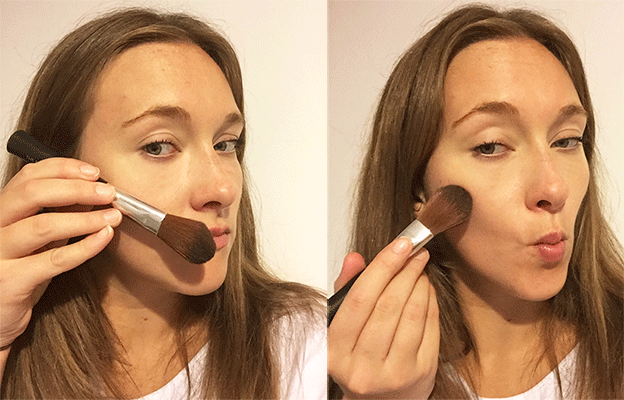
Step 6 – Blush
Get your pout on! Put the blush brush up against your face to help visualise where you’ll be adding it. Then sweep using an outwards motion gently, not adding too much blush with each sweep. It should slowly become more noticeable as you keep applying.
Don’t just add blush to your cheeks – use what’s left on your brush to lightly brush your forehead, nose and chin. This will give the illusion of a tan – winner!
Finish up by adding mascara to your bottom lashes, and I personally use a peach shimmer eyeshadow to give my eyes yet another highlight.
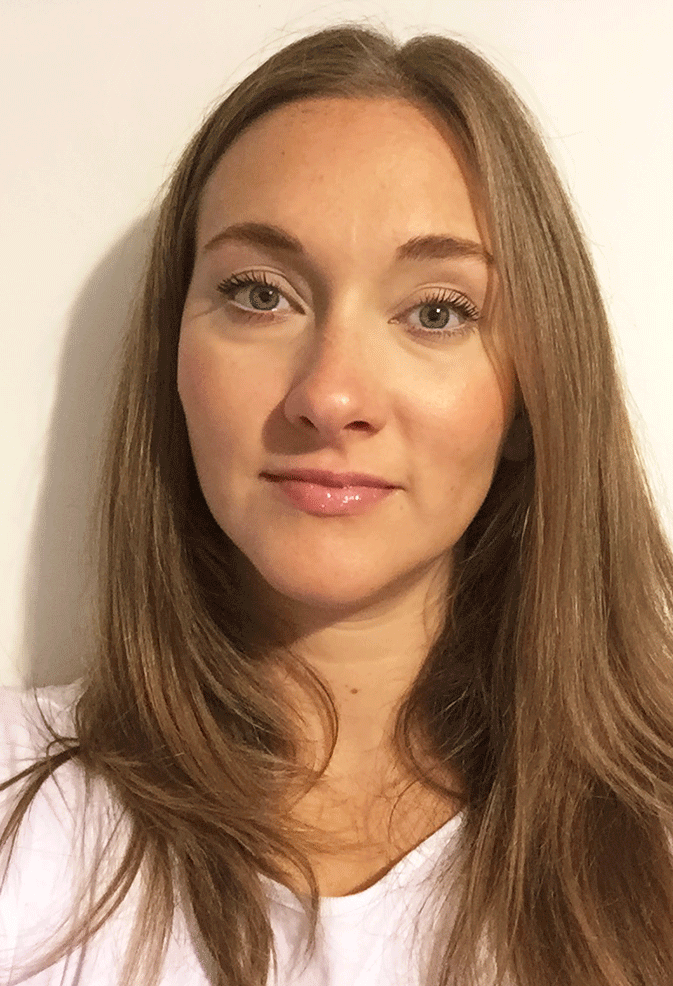
Step 7 – finished result
Unfortunately miracles don’t happen and I can’t hide ALL of my black under eyes / puffiness. However, I find using the steps above helps me feel so much better about myself, and not care as much. If you take the attention away from your bags by having your other features look nice, it will help your confidence no end. I use these steps on a daily basis, for work, lunch, meet-ups with friends. If I’m going out, I’ll add more blush, eyeliner and darker eyeshadow.
I find the blush really helps to make you look healthier and really finishes off your make-up.
Materials
Okay so here’s a list, in order, of everything I’ve used in the above make up tutorial.
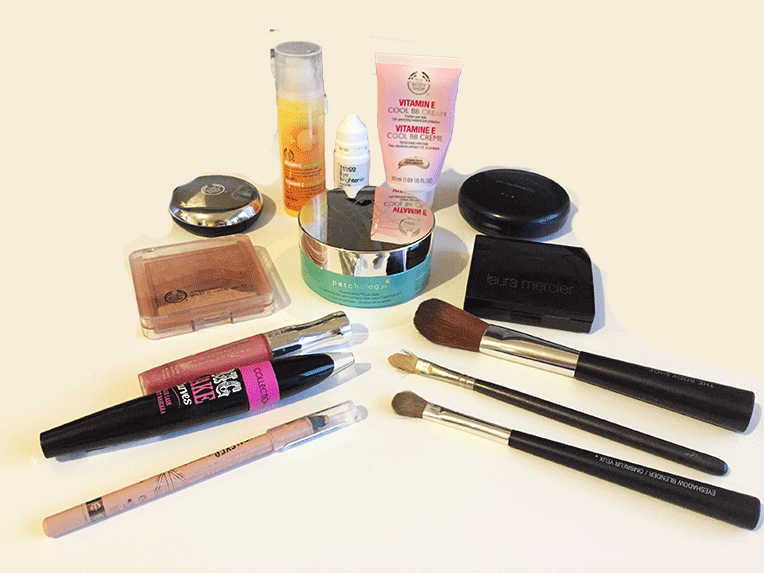
- Ultimate Spin Brush Cleansing System (eBay £8!)
- Patchology Flash Patch eye patches (Amazon.com)
- Tesco Eye Brightener drops
- Body Shop Vitamin E Cool BB Cream
- Body Shop Vitamin C Skin Reviver
- Collection Big Fake Curves mascara
- Body Shop brow & liner kit 02
- Laura Mercier Secret Camouflage SC2
- Rimmel Scandal Eyes eyeliner, 005 Nude
- MAC Brush 194
- Body Shop eyeshadow blender brush
- MAC Studio Fix NC25
- Body Shop Shimmer waves blush 01
- Body Shop Blusher brush
- Rimmel Stay and Glossy lipgloss 160 “Stay My Rose”
And that’s it folks… Thanks for reading and I hope you’ve been able to take away something from this tutorial!
• • •
Thanks for reading :) This article is tagged with:
 Insta
Insta
 Tik Tok