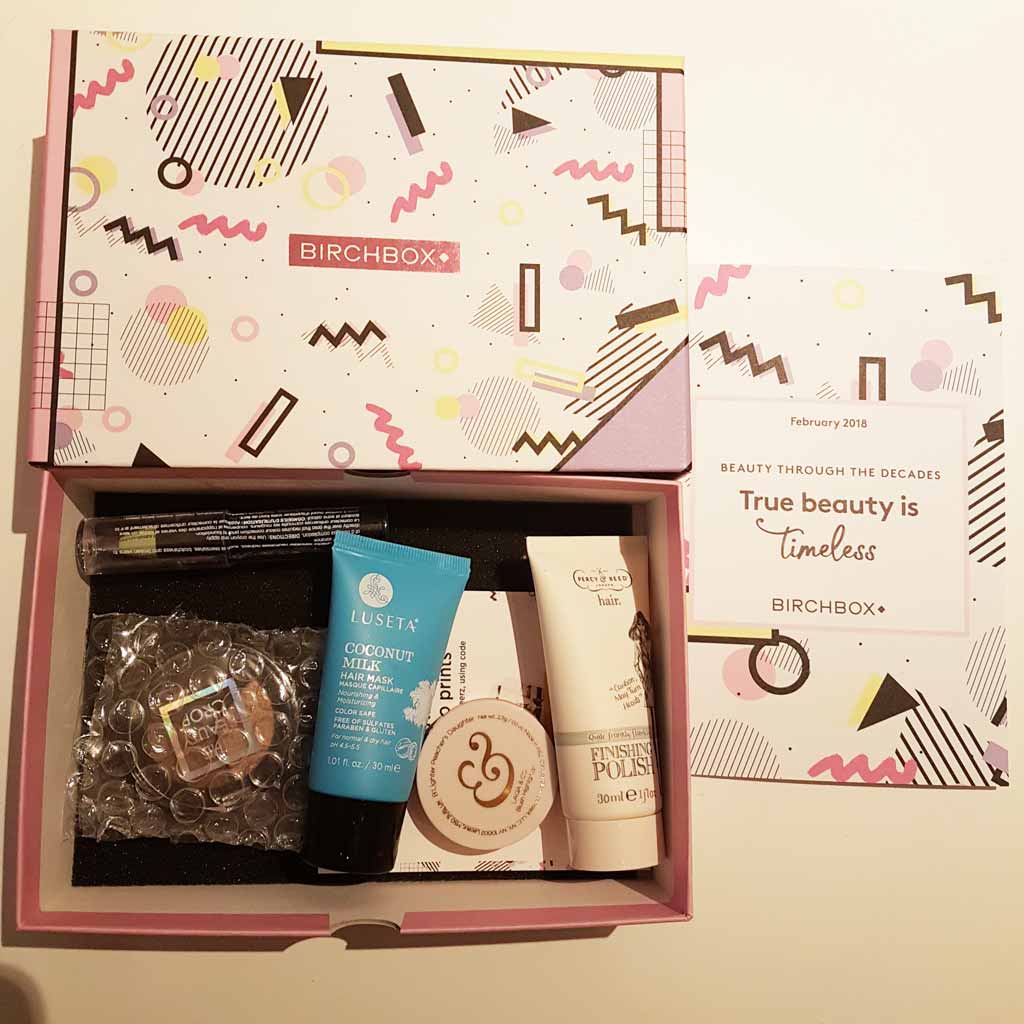
4/5 cruelty-free products this month from Birchbox!
This months box consisted of 5 products:
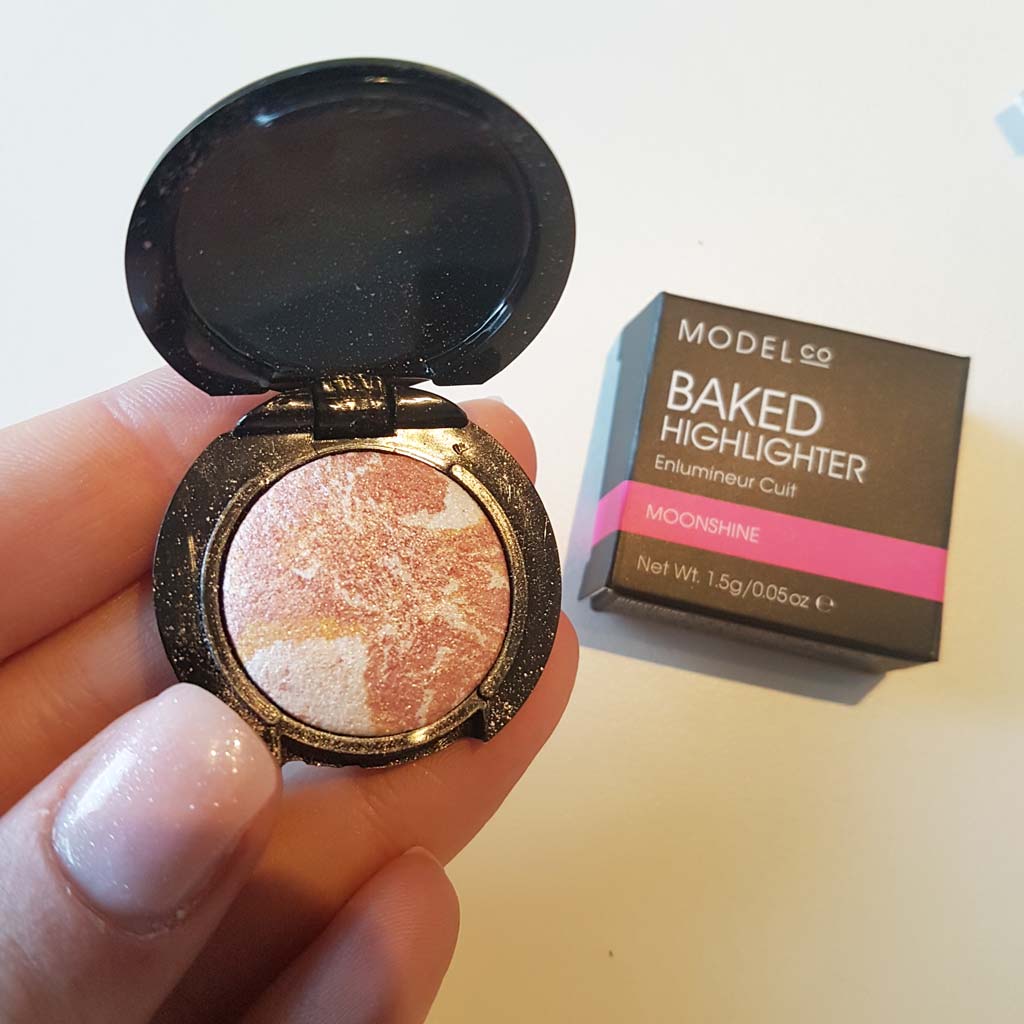
ModelCo Baked Highlighter in Moonshine
Beautaniq Beauty – Fill and Tame Brow Gel
Cath Kidston Hand Cream
Whish Shave Cream
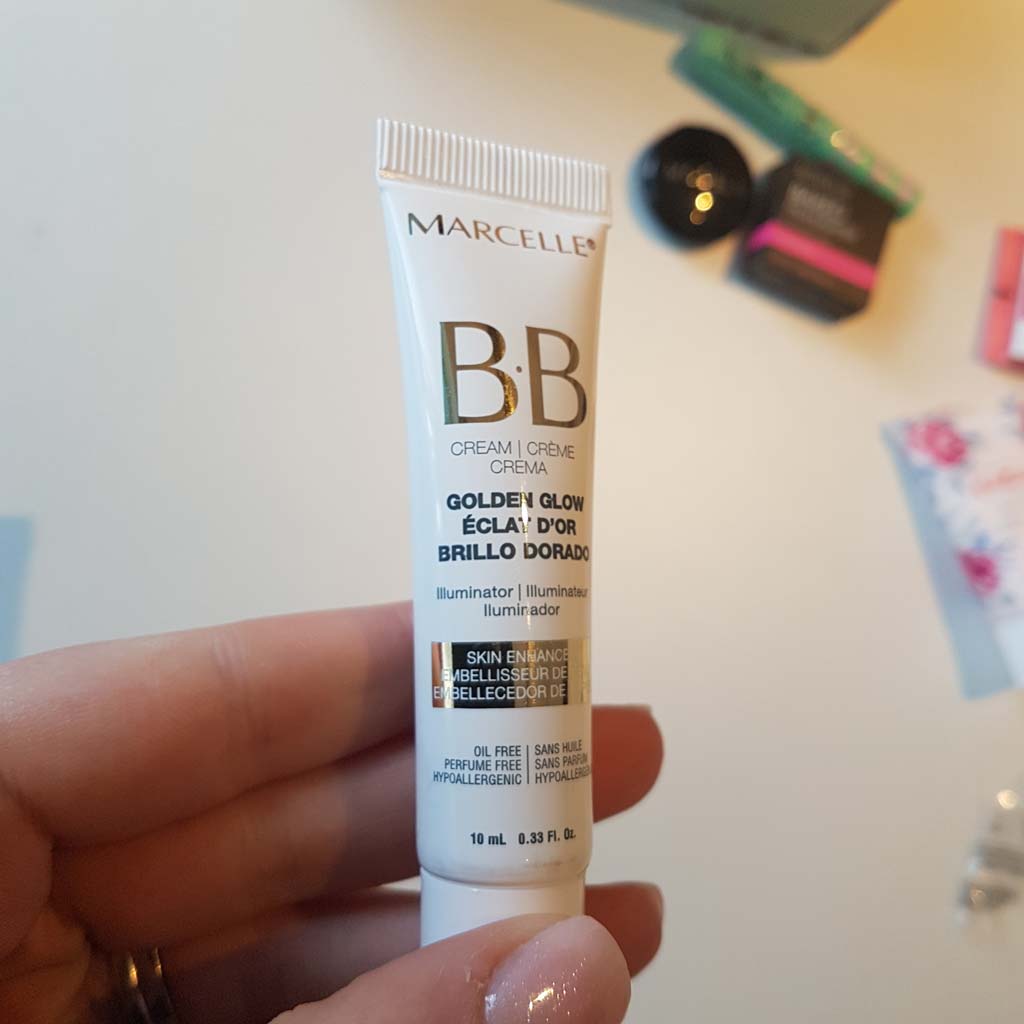
Marcelle BB Cream Golden Glow
Within the box, I got a 25% off leaflet to spend at Cath Kidston.
ModelCo Baked Highlighter
It’s obvious I like a product when I don’t put it back in the Birchbox ready to look at it another day. That product this month is the highlighter by ModelCo. I got to choose out of 2 shades which I’d prefer – and I got my chosen one, ‘Moonshine’. I don’t know if it’s a sample size or full size but at 1.5g/0.05 oz, you don’t get much. Not a problem – who uses that much highlighter anyways? (hello Kardashians) It’s super shiny and goes on like a dream. I used an eyeshadow brush to apply it on my cheekbones (with a few strokes). It stayed on all day too.
The highlighter is NOT cruelty-free, so I personally wouldn’t buy it again – however, ModelCo is slowly going the cruelty-free way, as they have a Vegan section on their website….. check it out here: https://www.modelcocosmetics.com/shop/vegan/
Cath Kidston Hand Cream
After much Googling, I do believe this hand cream is cruelty-free. Fab fab fab!
The smell is beautiful and fresh; it made my hands feel extremely moisturized. Took about a minute to dry which isn’t a bad thing seeing as though I’m typing this after applying. A little seems to go a looooong way and the one I got is 30ml.
Beautaniq Beauty fill and tame brow gel
“Nourishing tinted brow gel”
This looks promising but I use Wunderbrow so I don’t think I’ll use this #soz (unless I run out ofc)
It has an icon on the tube which says cruelty-free – hurrah!
It looks like it’d be useful for those lazy days when I can’t be bothered to perfect my brows but want them styled, shaped and tinted.
Whish Shave Cream
Smells lush; smoothes on the skin like a dream and has a moisturizing effect; it’s slightly shimmery too. I got 22ml which, to be honest with my long legs and big thighs didn’t go far.
On the tube, it says, “tested on us, not animals” – another cruelty-free product! Amazing!
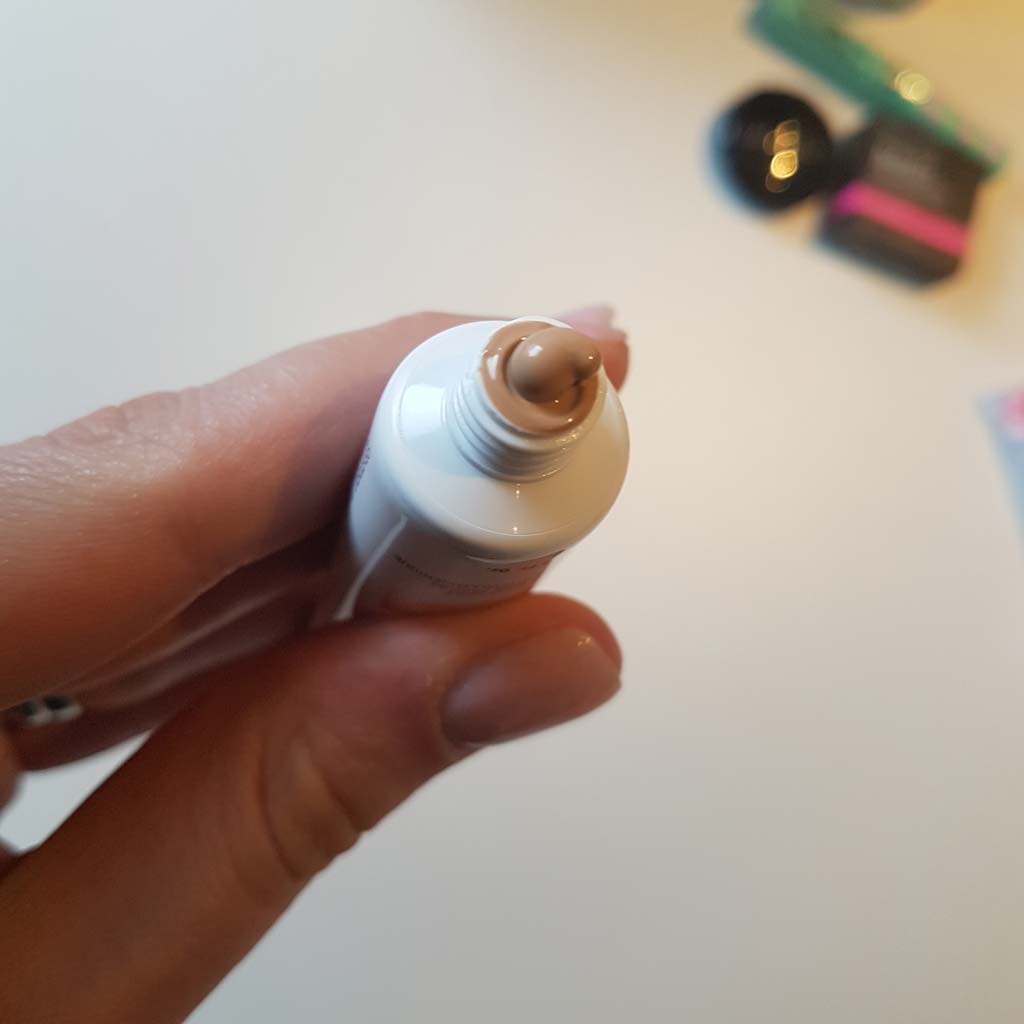
Marcelle BB Cream Golden Glow
This illuminator is too dark for my skin but has amazing reviews online from ladies saying it, “enhanced my skin” and “gave me a fab healthy glow”. It can be used as a primer, which is handy as well as a moisturizer.
Even though it’s too dark for me, I gave it a whirl by adding it to some other white moisturizer (it helped dilute the colour making it lighter) and I could definitely see a glow. I only put it on my cheeks (as I have an oily forehead) and it made them look plump and fresh.
I decided to start trialing Birchbox beauty box after using Look Fantastic’s beauty box for a little while. I was getting fed up of receiving moisturisers and face oils when I hadn’t even used up the ones from the previous month.
There are loads of beauty boxes around but Birchbox has an awesome looking website and that’s why I decided to go with them.
Personalised
They ask for your details when you sign up, such as your skin type, so they can help tailor the products they send you. This is a BIG winner for me – I don’t want moisturiser for sensitive skin because I don’t have it – nor do I want frizz ease hair product because I don’t have frizzy hair. I want products tailored to me.
How does it work?
You buy the box each month and you get 5 products. The products can either be full or a smaller size. For each the products each month, you get these benefits:
10% off full-size products sampled in your current and last months’ boxes (say you get a small size product in your box and use it up, you have time to purchase the full size from their shop and get a discount)
if you buy from their online shop there are usually discounts on other products or freebies to be had – make sure you check the site
if you review each item in your box within a time-frame, you get free delivery on your next box
if you sign up for 6 months you become a VIP which entitles you to more benefits (see below)
Here’s a photo from the Birchbox website detailing the benefits (there are lots to be had!!)
You get a discount if you review what’s in your box, so the awesomeness of that is because soooo many people have tried the products, there are plenty of reviews to read before you reach for your purse. You can use the site to buy products too even if you aren’t signed up to get the Beauty box.
I’ve had 3 boxes so far and I’ve found a handful of gorgeous products I’d happily buy.
Price
Prices (at time of writing this post) are £10 per month plus £2.95 delivery for each Birchbox. For me this is a no-brainer – you get to try out products you wouldn’t normally; have them delivered to your door; get them tailored to you; get discounts if you find one you love; get other freebies if you review your box. The list of benefits is huge and a big winner as to why I signed up (and stayed) joined up!
I haven’t (unfortunately) been paid or received any goodies for this review. It’s from my own experience so you can believe it’s 100% honest. Whilst that’s 100% true, because I have an account with Birchbox they do ‘recommend a friend’ – sign up using this link and we BOTH get £5 off our box https://www.birchbox.co.uk/invite/5xf1n
• • •
Thanks for reading :) This article is tagged with:
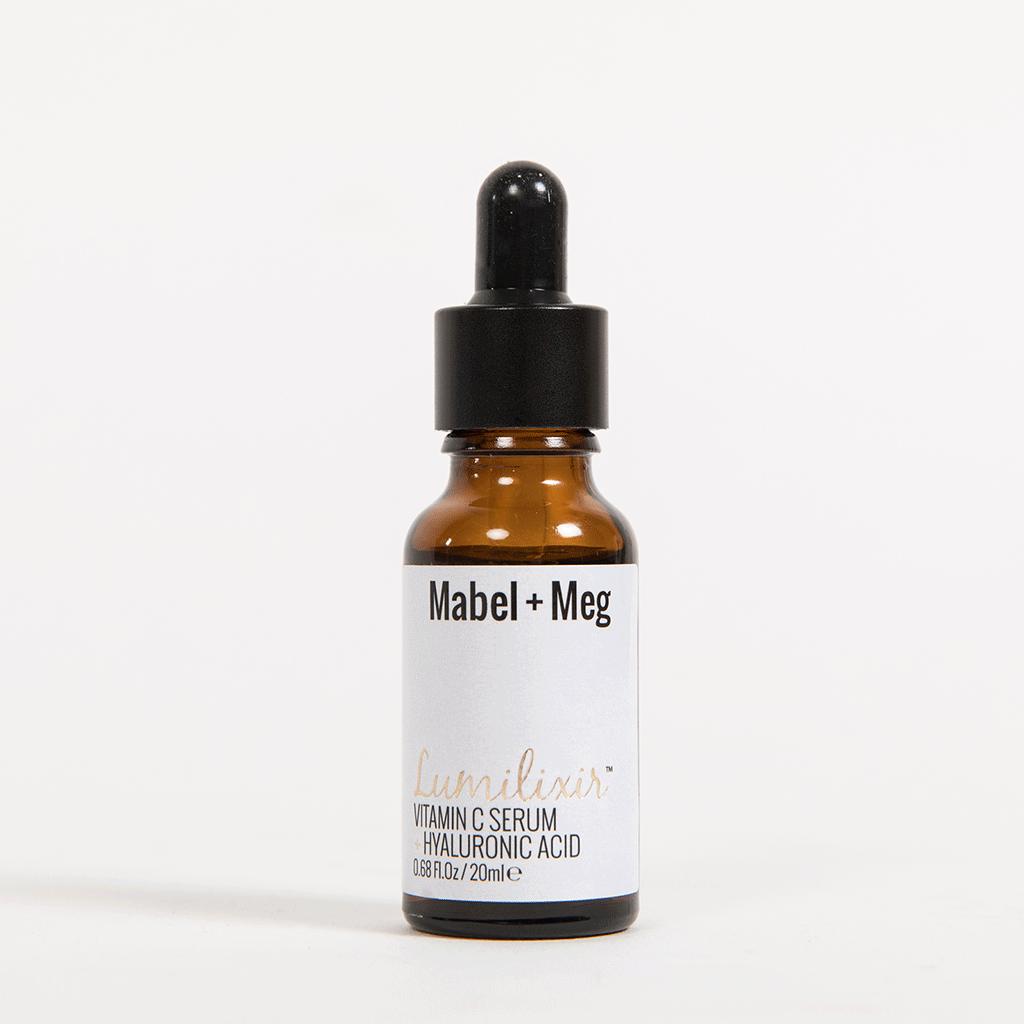
I first found Mabel + Meg Lumilixir Serum through a beauty blogger on Instagram. She put a few blobs on her makeup brush, along with her foundation, and began sweeping it across her face. It seemed to blend perfectly and gave her a dewy glow. I can’t remember who she was, but she was really happy and posted a fab review (not to mention, a bloody gorgeous selfie).
Now I’m not sure about you, but I always think…. “do you REALLY think that….. or are you being PAID to think that?” so I decided to buy some for myself.
When I looked into and read the reviews, it seems it’s not just a primer. It helps to (from their website):
Plumps and hydrates skin
Smooths complexion
Brightens skin
Paraben free
Oil free & non-comedogenic
Fragrance-free
Absolutely no animal testing (hurrah!)
It’s described as something you can use as part of your morning and evening routine, applied over a cleansed and toned face. You can moisturise beforehand, but you need to wait for it to absorb before applying.
It’s vegan and cruelty-free 😀
Mabel + Meg Lumilixir Serum – How do you use it?
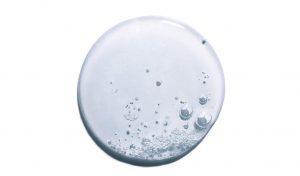
It comes in a bottle with a dropper, so you can control how much you’re using (and it looks really professional). I use 3 drops on my fingers or makeup brush, then rub lightly all over my face. Once done and it’s still slightly wet, I apply my foundation. I use The Body Shop Fresh Nude foundation which glides on amazingly even. I then add concealer & blusher.
What are your results from using it then?
My skin looks fresher and dewy. I have an oily T zone, which has continued to be oily, so it hasn’t helped it (or made worse) It makes my face feel light, clean and brightened. My makeup also stays on all day, which didn’t before using this.
I get spots on my forehead and chin but since started using this, they’ve reduced massively. I still get them, but they’re tiny and not as noticeable. If I do get a breakout of bigger spots, I use this twice a day (once before makeup and once before bed) and the day after, they’re almost nothing.
Let’s get down to brass tax…
The bottles come in 20ml or 30ml, starting from £29 up to £39 for the 30ml. For me this is very expensive – my foundation and concealer comes to £50 so spending this on top makes me think “jeez, is it really worth it?”. So there’s only 1 way to find out…. coughing up £29 for the smaller bottle!
I bought directly from their website, with £4 shipping fees. I’ve since bought it from Cult Beauty where I paid no shipping (over £40 though).
#TipAlert
If you buy from Cult Beauty make sure you first go through Top Cash Back – at the time of writing, “new online customers” can get 8% back. I’ve used it for years and I’ve had thousands back from it. It’s a cashback site – you visit Top Cash Back and find the brand you want to buy from. You click on it and find out what the cash back available is. You usually get a lower % if you’re already an existing customer of that brand. It takes ages to get paid out but you will eventually get it.
This is a screenshot of my Cult Beauty payout of £3.33 in my Top Cash Back account:
#TipAlert
If you choose to buy it from MabelandMeg.com, look out for the popups where you can get 10% off if you sign up for their newsletter.
Is it worth the money??
Honestly….. I’ll continue to buy Mabel + Meg Lumilixir Serum until I need the money elsewhere. £39 is pricey, so I’ll buy as and when – maybe a couple a year. 3 drops a day will last a good month… or 2. I don’t do as per the instructions and apply in the morning and evening – it wouldn’t last as long (unless I have spots, see above!) and I only want it to help glide on makeup. If I wanted it to stretch, I’d go down to 1-2 drops and only use a few times a week, or on nights out.
If you wanted to use it as a moisturiser then applying morning and evenings would be good for improving your complexion quick, even though you’d use it up faster. Even if it lasted a month, a month’s worth of high-quality moisturiser is well worth it.
UPDATE: 9th March 2019
I still use Mabel and Meg to this day. I usually buy in bulk as that’s when you can get the discount. I still use just 2 drops each morning after I’ve moisturised and before my makeup. It keeps my skin looking fresh, helps reduce spots and keeps my makeup on all day. I love it.
UPDATE: 17th February 2020
Yep… still using it. Had a few months off towards the end of 2019 whilst I was using other things (blogs to come; Beauty Pie, Aurelia probiotic to name a few) but I’m back to using this. It really is absolutely amazing at keeping my makeup on all day. I still get spots during my period week (NOTHING has helped with this, argh) but my oily forehead definitely is better after I use this. I still only use 2 small drops per day. I give it 10 mins to settle on my skin before I put make up on. Love this stuff. Don’t forget to find discount codes from my above tips if you decide to buy! Oh one last thing, the price is still the same – no increase!
I haven’t (unfortunately) been paid or received any goodies for this review. It’s from my own experience so you can believe it’s 100% honest.
• • •
Thanks for reading :) This article is tagged with:
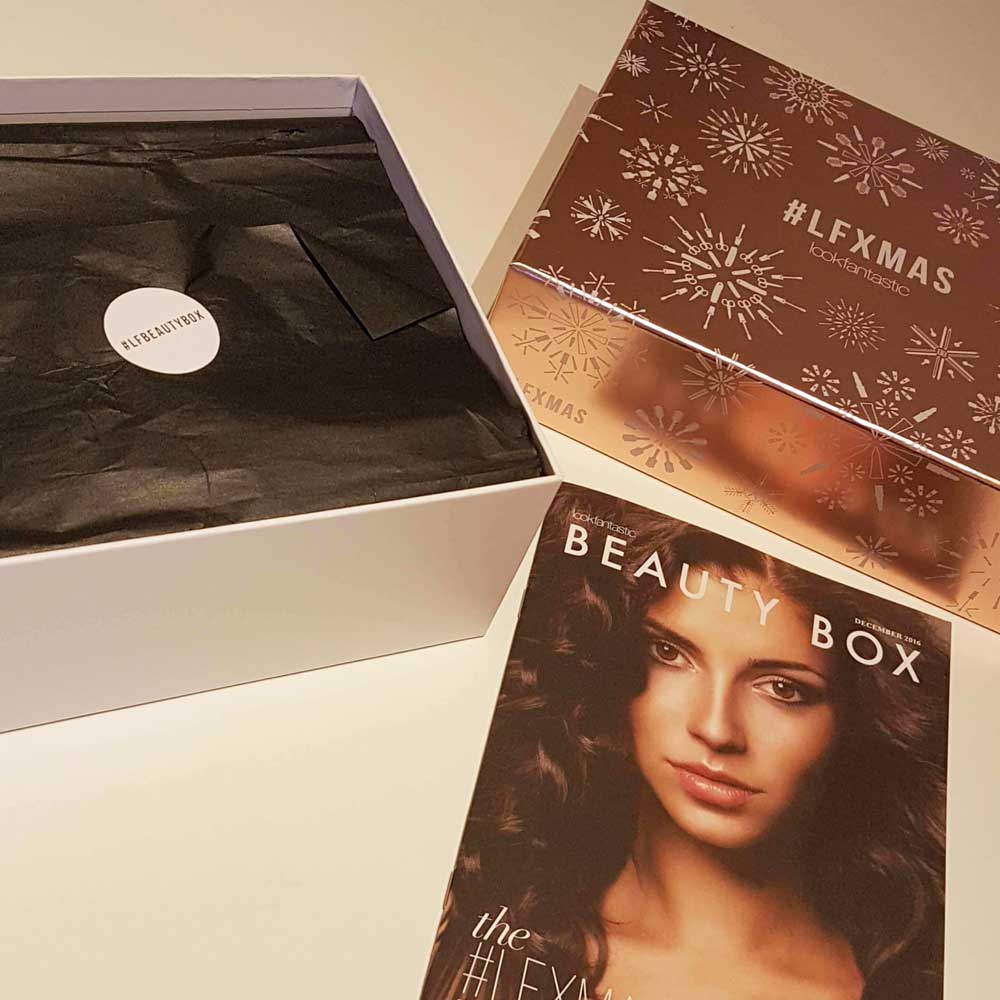
This month’s beauty box cost me £14.50 which is part of a 3-month renewal deal. In the box as well as the products, I got a magazine detailing the benefits of each product and how to use them.
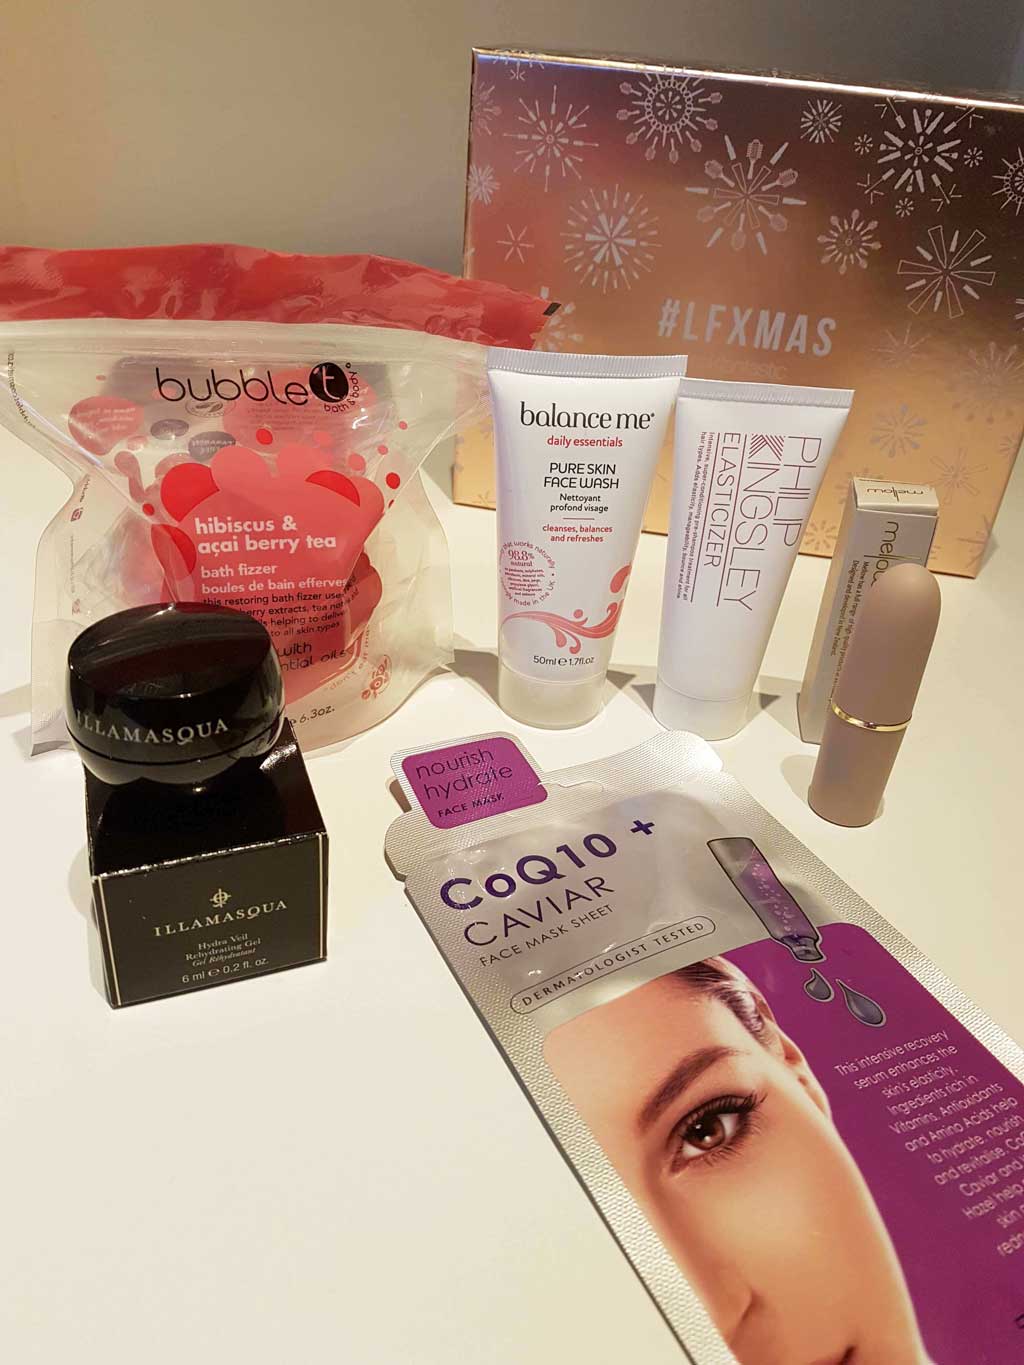
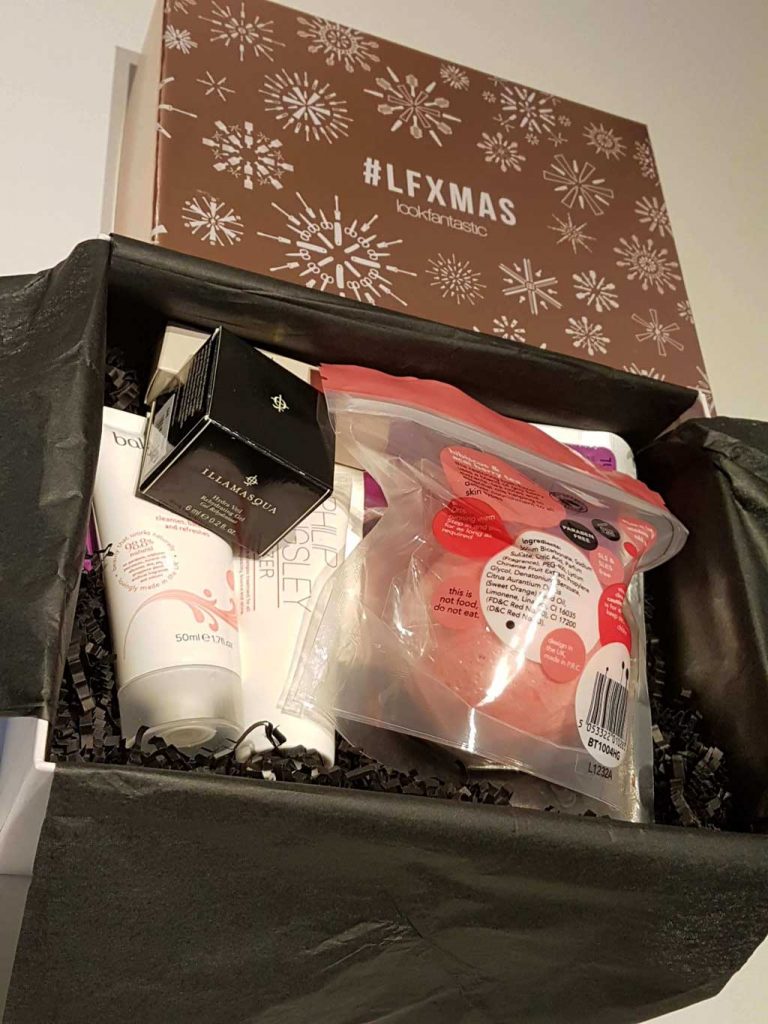
I got 6 items:
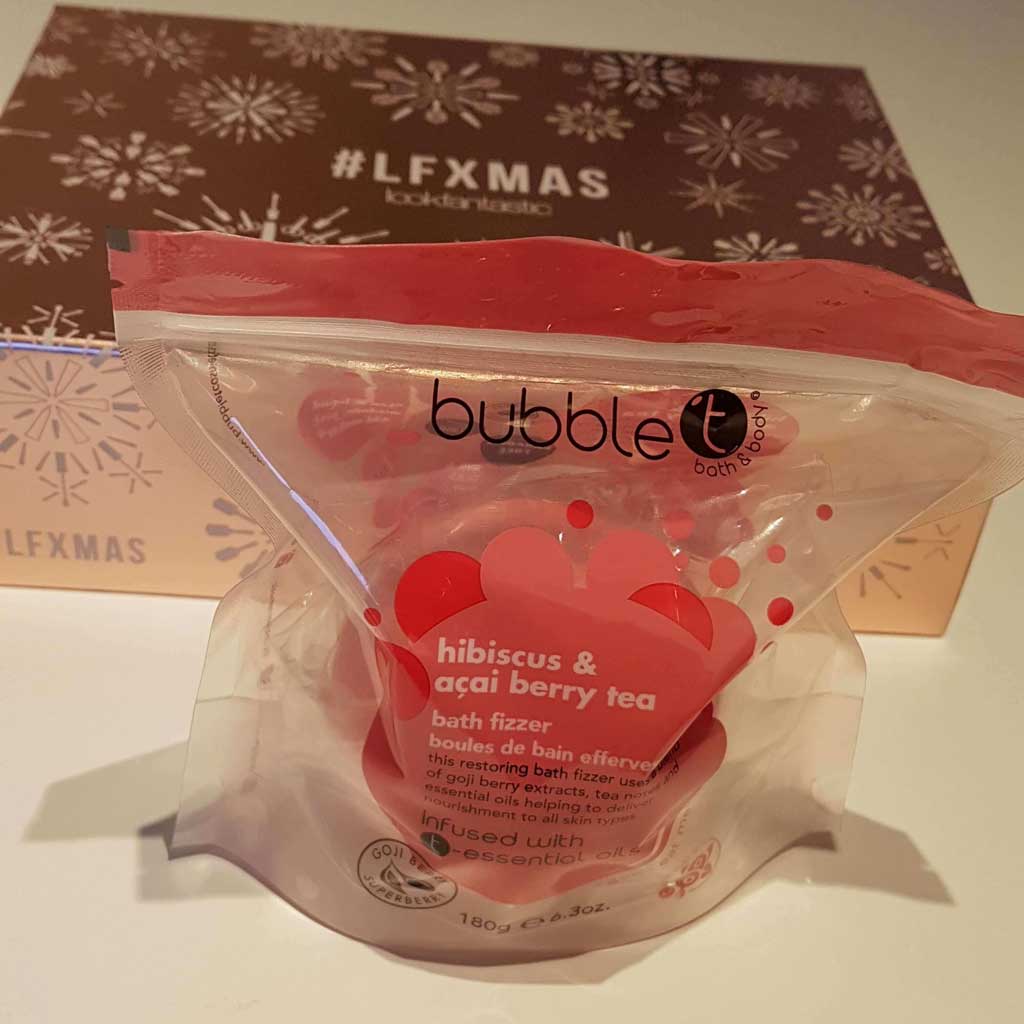
Bubble T – “hibiscus & acai berry tea” bath fizzer
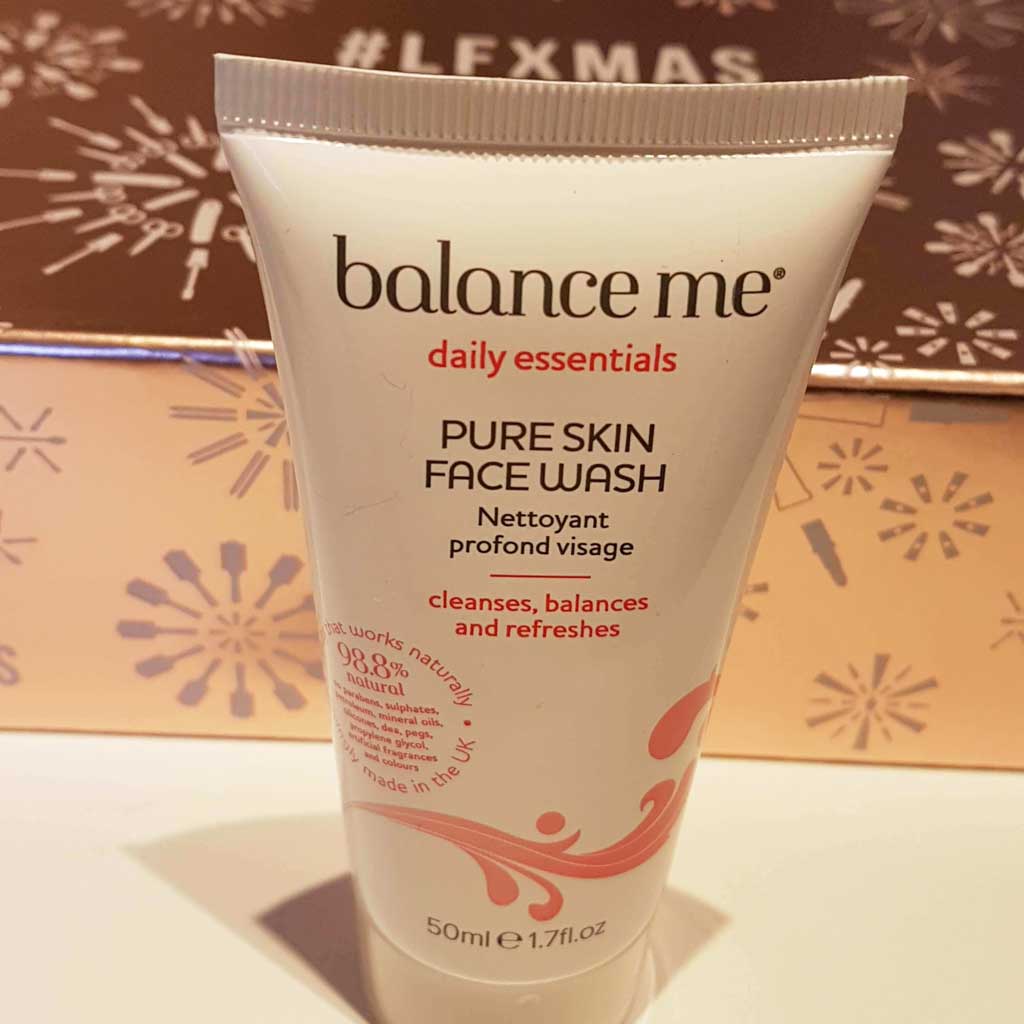
Balance Me – daily essentials pure skin face wash
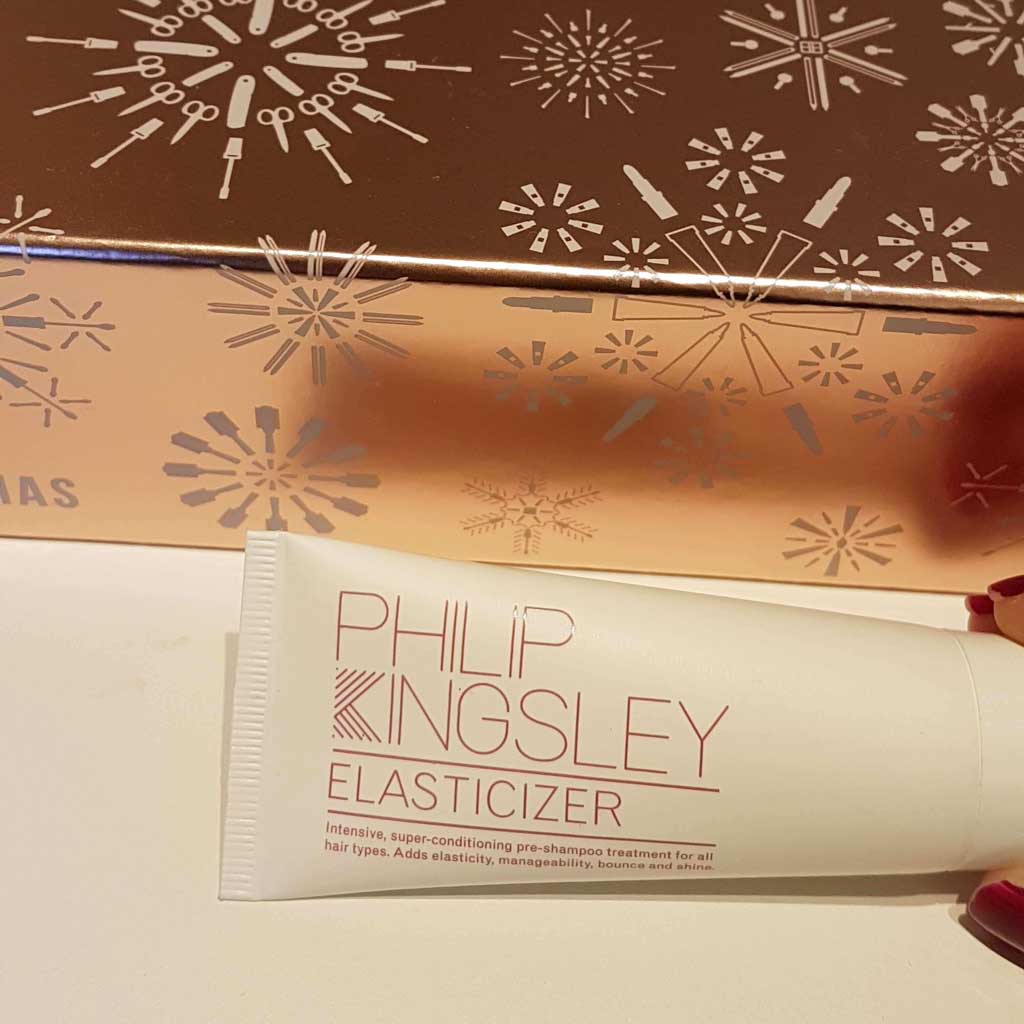
Philip Kingsley – elasticizer
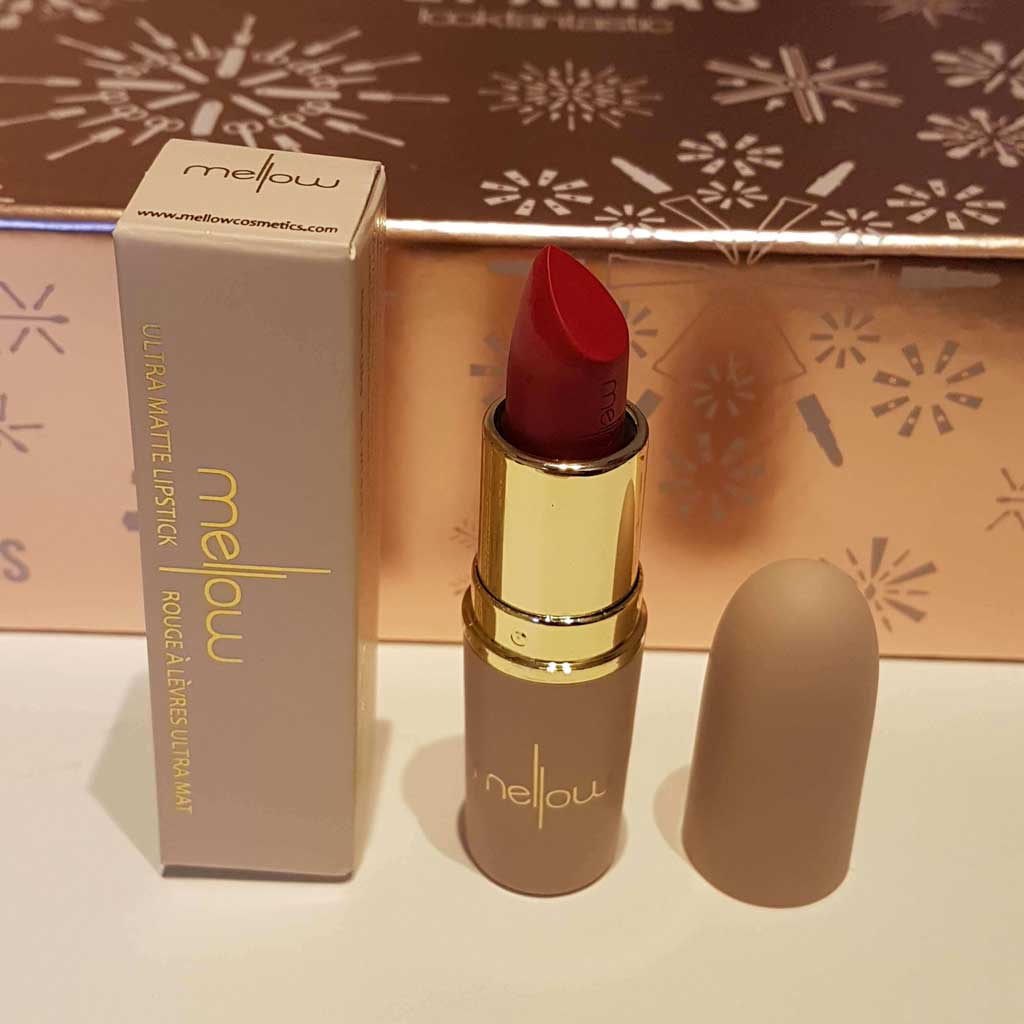
Mellow – ultra matt lipstick
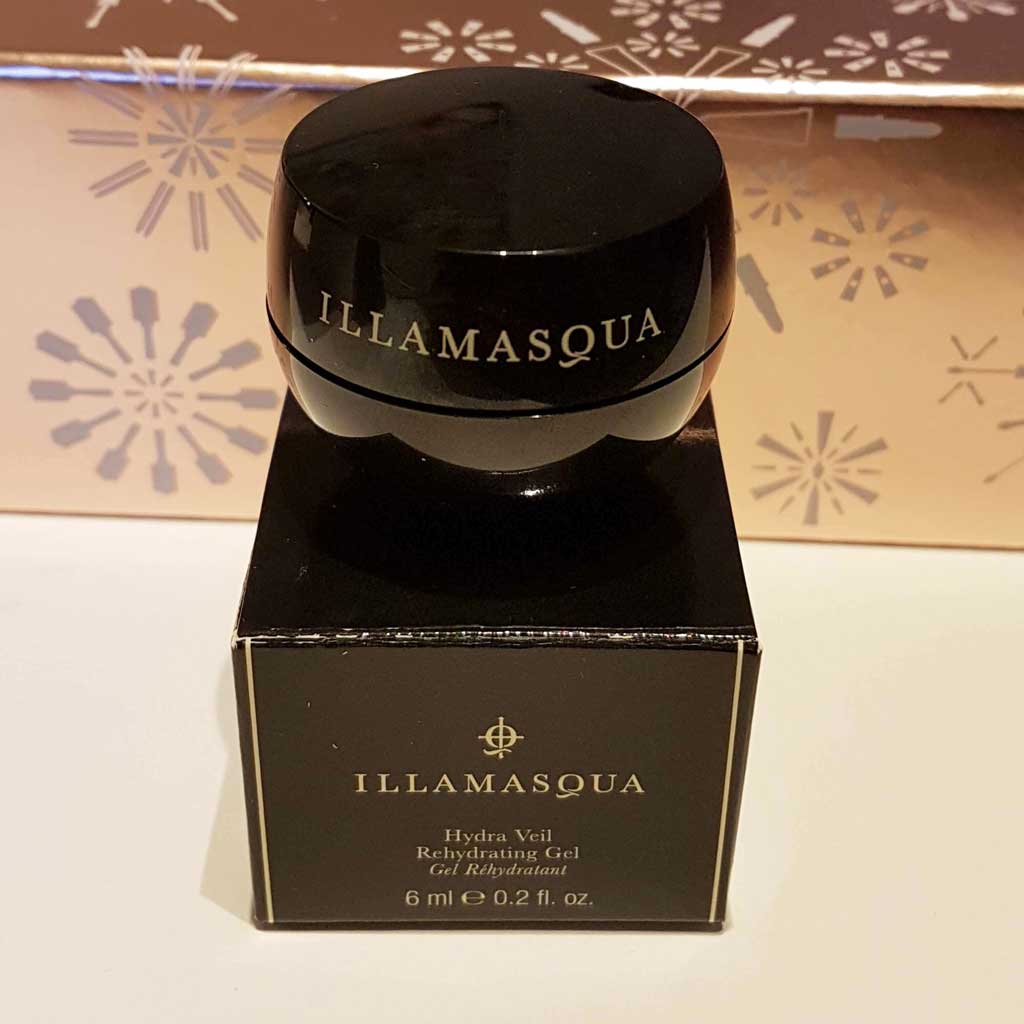
Illamasque – hydra veil hydrating gel
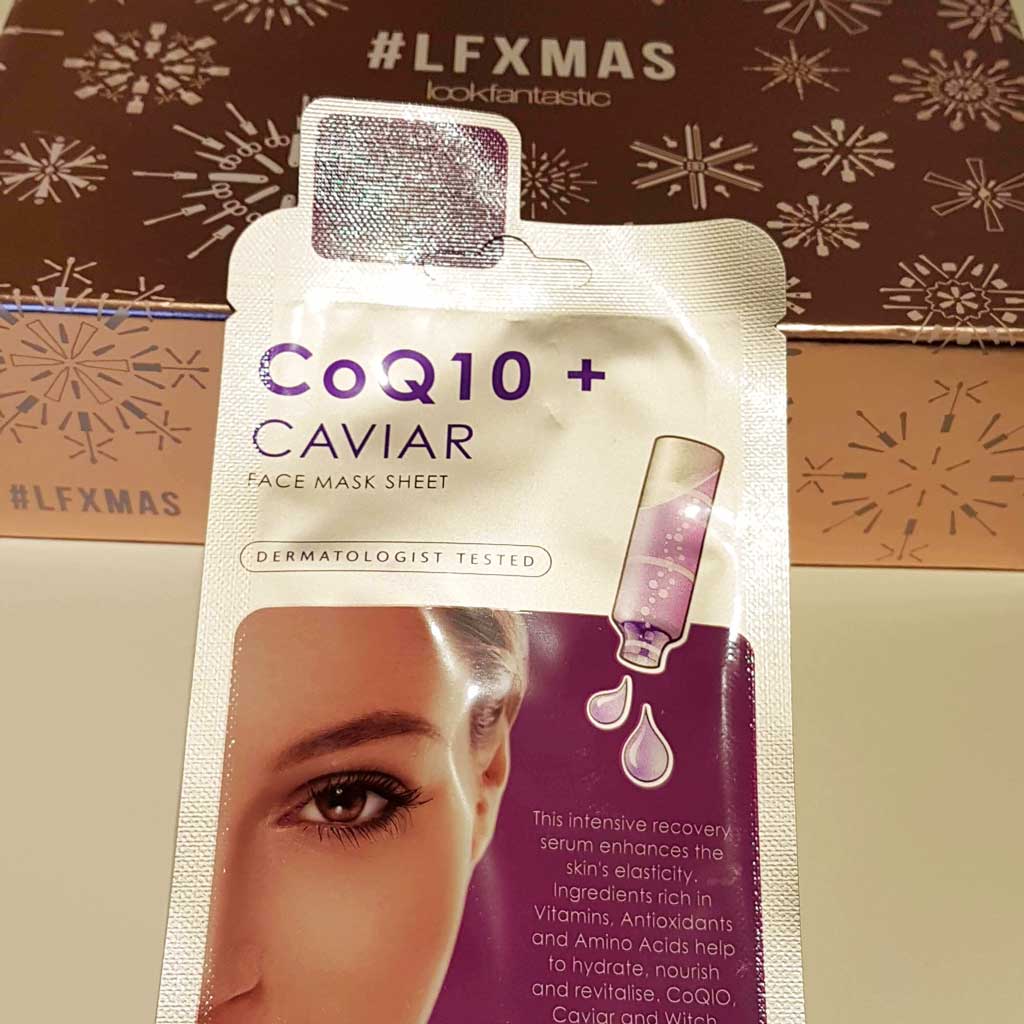
CoQ10 + Caviar – face mask sheet
Bubble T – “hibiscus & acai berry tea” bath fizzer
I’ve always been obsessed with make-up. Not so much with wearing it; just how much it can change how someone looks, and how it can make you feel.
I got married in 2014 and did my own make-up, even after having a wedding trial. I don’t wear a lot of make-up, so when the trial lady (who didn’t have much make-up on herself) seemed to absolutely lash the foundation on, she answered my hmmm with… “It’s quite heavy yes, but you will look amazing on the photos”. This didn’t fill me with comfort, as I’d rather not be uncomfortable all day thinking about how much make-up I’m wearing. Plus I wanted my Husband to actually recognise me when I got to him in church!
I put into action a challenge to find my ultimate go-to make-up routine, that I’d feel comfortable with on my wedding day; that would stay on all day; and would be relatively quick to put on.
I’ve always had under eye bags and puffiness, for as long as I can remember. The last few years I’ve attempted numerous serums, patches, creams, even cold tea bags / cucumber / tea spoons, but nothing has made me think “WOW – this works”. I have a healthy diet, and sleep well – even my folks don’t have them, so I had to come up with something that’d make me feel OK again.
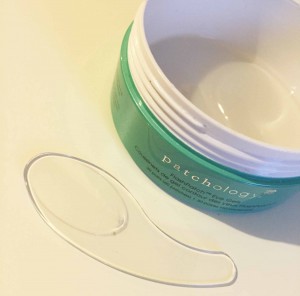
Patchology comes with 30 pairs of eye patches and a little spoon to help separate them
I’m always on Instagram checking things out, when I stumbled across a photo of Olly Murs with some under eye patches on. I did a search and found ‘Patchology’ – I’m not sure if he was wearing these, but I decided to investigate. A search on Amazon.com and I discovered 13 reviews (at the time of writing) and 5/5 stars for Patchology Flashpatch Eye Gels. At $50 + delivery, yes; it’s a pretty expensive beauty item, but this didn’t put me off! So off and I went and purchased a month’s worth.
When they came, I instantly popped them in the fridge. It doesn’t say to do this, but I still use the cold tea spoon idea because it feels so good, and wakes my eyes/face up no end. Putting them in the fridge definitely helps the patches wake my eyes up. The instructions say to leave them on for 5 minutes. I leave them on for about 30 minutes whilst I’m doing other things.
Seeing as though it took me a while to figure out my own make-up routine, I thought I should write about it, as someone somewhere might benefit from even a small part of what I do, and how I do it – in particular covering dark circles and puffy bags. The make-up used throughout is animal cruelty-free 🙂 Some of the items are expensive, however, as they last so long, to me it’s worth it. The Laura Mercier concealer I’ve got was expensive to purchase, but I bought it in January 2015 and still have over 1/4 left – and I use it every day.
Even though I don’t use contouring, I’m forever watching videos on it – it’s incredible what can be done nowadays. I wouldn’t like to use contouring on myself, because it looks quite heavy. Great on film, photos – but in real life, it’s not for me. I prefer a light make-up routine, that I’ll go through step-by-step now.
You’ll find the materials I’ve used at the bottom of this tutorial.
Step 1 – prep
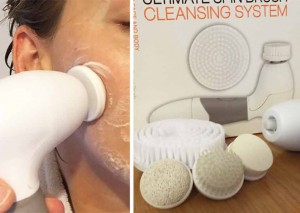
Before I do anything, I wash my face. I do this with a facial brush I found on eBay for £8. It spins round, which makes sure every last bit of dirt comes off my face. I use the small brush (middle) with soap. It leaves my face feeling amazingly clean and ready for the day.
I also pop eye drops into my eyes at this point to get rid of any redness. It also helps to wake them up.
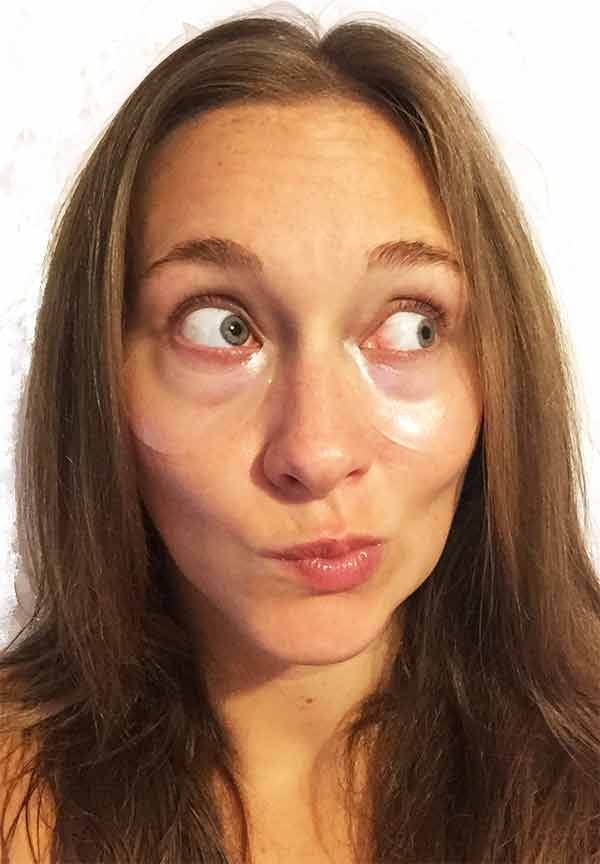
Step 2 – Patches
I leave these on for 30 minutes, whilst I’m doing other things. Although you can just leave them on for 5 minutes to get amazing results.
Afterwards remove any excess serum with a wipe.
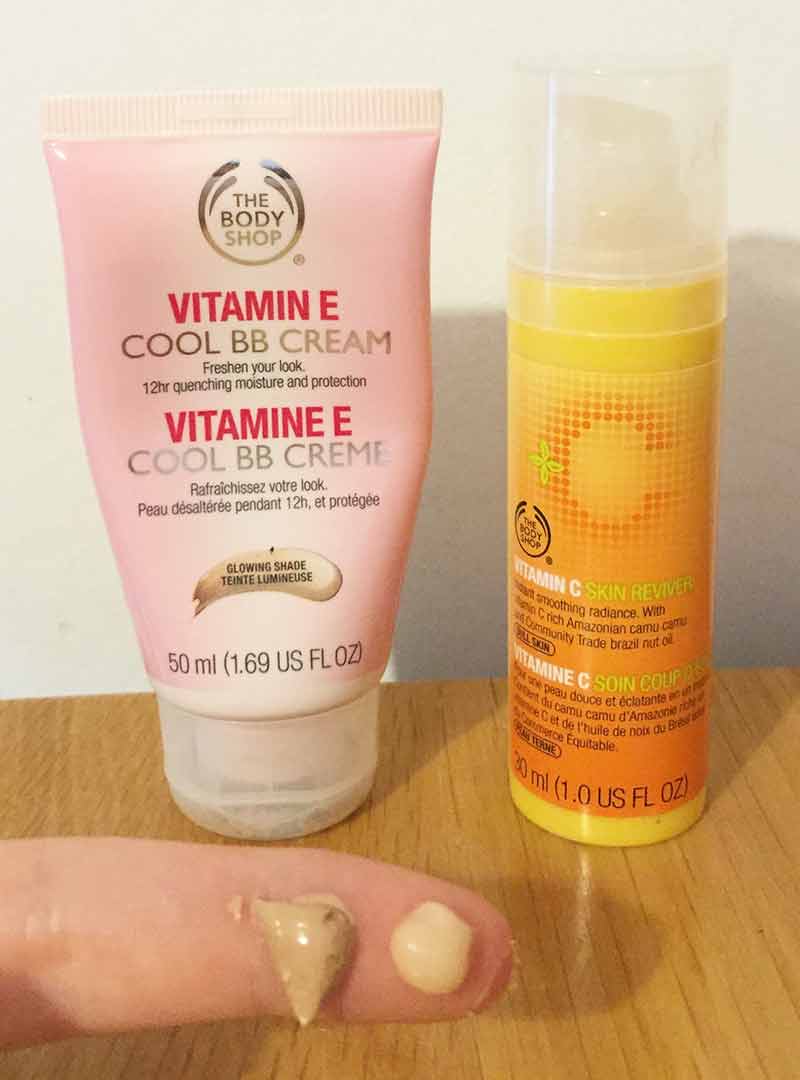
Step 3 – Moisturise
I use 2 moisturisers before I apply my make-up. I use a small blob of each & apply to my face in circular upwards motions. The Body Shop Vitamin C skin reviver makes me look refreshed and awake; Vitamin C is great for skin. The Body Shop Vitamin E BB Cream gives my skin a gorgeous glow (but not too dewey) and gives a slight coverage. Once these have settled in your skin, then it’s time for make-up!
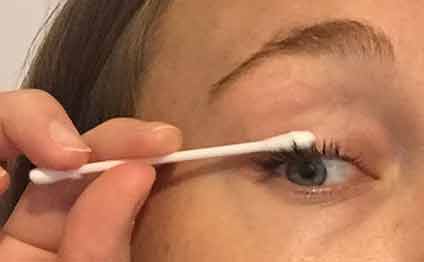
Step 4 – Top lashes mascara
At this point I put on mascara but only on the top lashes. The bottom ones come later. I do it this way so I don’t have to wait for the bottom lashes to dry before I start on my foundation/concealer, and also as I’m not very neat, it’s quick and easy to remove any mistakes with a cotton bud!
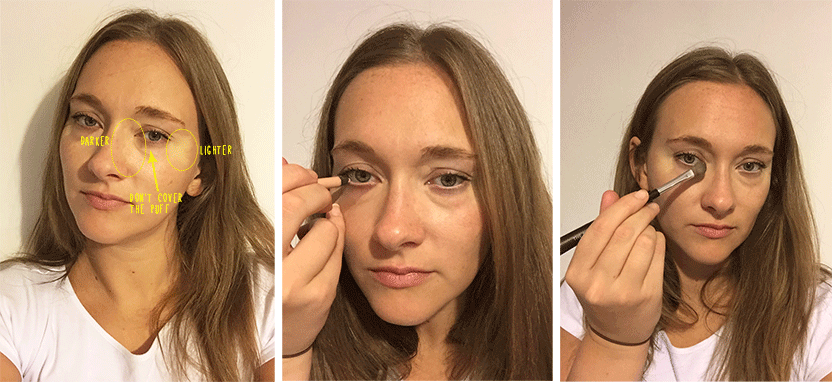
Step 5 – concealer
I use Laura Mercier Secret Camouflage because it includes 2 colours; a light and dark. Use the darker (it isn’t actually a dark colour, it’s just slightly darker than the light!) underneath the eye but DO NOT touch or put ANY concealer on the actual puffiness of the eye. Only apply it to the dark bags, and next to the nose.
Add cream eyeliner to give a light effect to your eye area. White is also a popular colour, but I feel for me, cream is more of a natural skin colour. Steer clear of black as this will emphasis the darkness of your bags.
Blend in the concealer using a blender brush. Be very gentle, and don’t rush. I start with the darker colour and blend my nose first, then I work outwards. The lighter colour at the edges will help to highlight your face and take the attention away from your bags.
I then pat very lightly & gently foundation over the top of the black under eye bags, not the puffiness. This helps to settle the concealer. Use the same blender brush and lightly sweep from your nose outwards. I use Mac Studio Fix in NC25 for this.
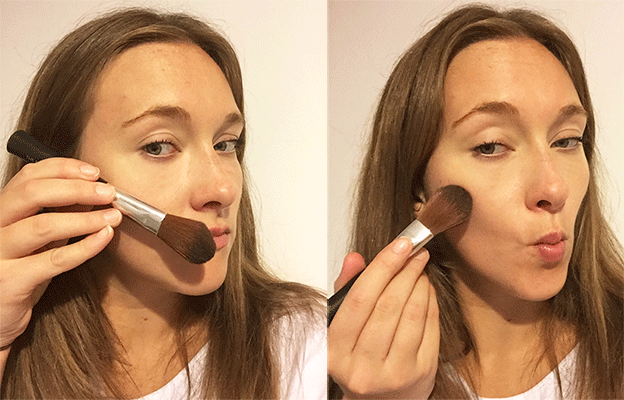
Step 6 – Blush
Get your pout on! Put the blush brush up against your face to help visualise where you’ll be adding it. Then sweep using an outwards motion gently, not adding too much blush with each sweep. It should slowly become more noticeable as you keep applying.
Don’t just add blush to your cheeks – use what’s left on your brush to lightly brush your forehead, nose and chin. This will give the illusion of a tan – winner!
Finish up by adding mascara to your bottom lashes, and I personally use a peach shimmer eyeshadow to give my eyes yet another highlight.
Step 7 – finished result
Unfortunately miracles don’t happen and I can’t hide ALL of my black under eyes / puffiness. However, I find using the steps above helps me feel so much better about myself, and not care as much. If you take the attention away from your bags by having your other features look nice, it will help your confidence no end. I use these steps on a daily basis, for work, lunch, meet-ups with friends. If I’m going out, I’ll add more blush, eyeliner and darker eyeshadow.
I find the blush really helps to make you look healthier and really finishes off your make-up.
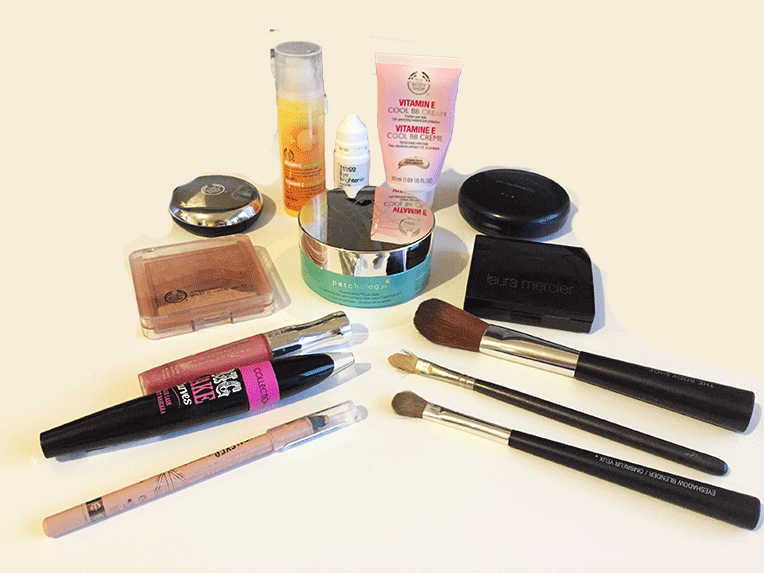
Materials
Okay so here’s a list, in order, of everything I’ve used in the above make up tutorial.
Ultimate Spin Brush Cleansing System (eBay £8!)
Patchology Flash Patch eye patches (Amazon.com)
Tesco Eye Brightener drops
Body Shop Vitamin E Cool BB Cream
Body Shop Vitamin C Skin Reviver
Collection Big Fake Curves mascara
Body Shop brow & liner kit 02
Laura Mercier Secret Camouflage SC2
Rimmel Scandal Eyes eyeliner, 005 Nude
MAC Brush 194
Body Shop eyeshadow blender brush
MAC Studio Fix NC25
Body Shop Shimmer waves blush 01
Body Shop Blusher brush
Rimmel Stay and Glossy lipgloss 160 “Stay My Rose”
And that’s it folks… Thanks for reading and I hope you’ve been able to take away something from this tutorial!
• • •
Thanks for reading :) This article is tagged with:


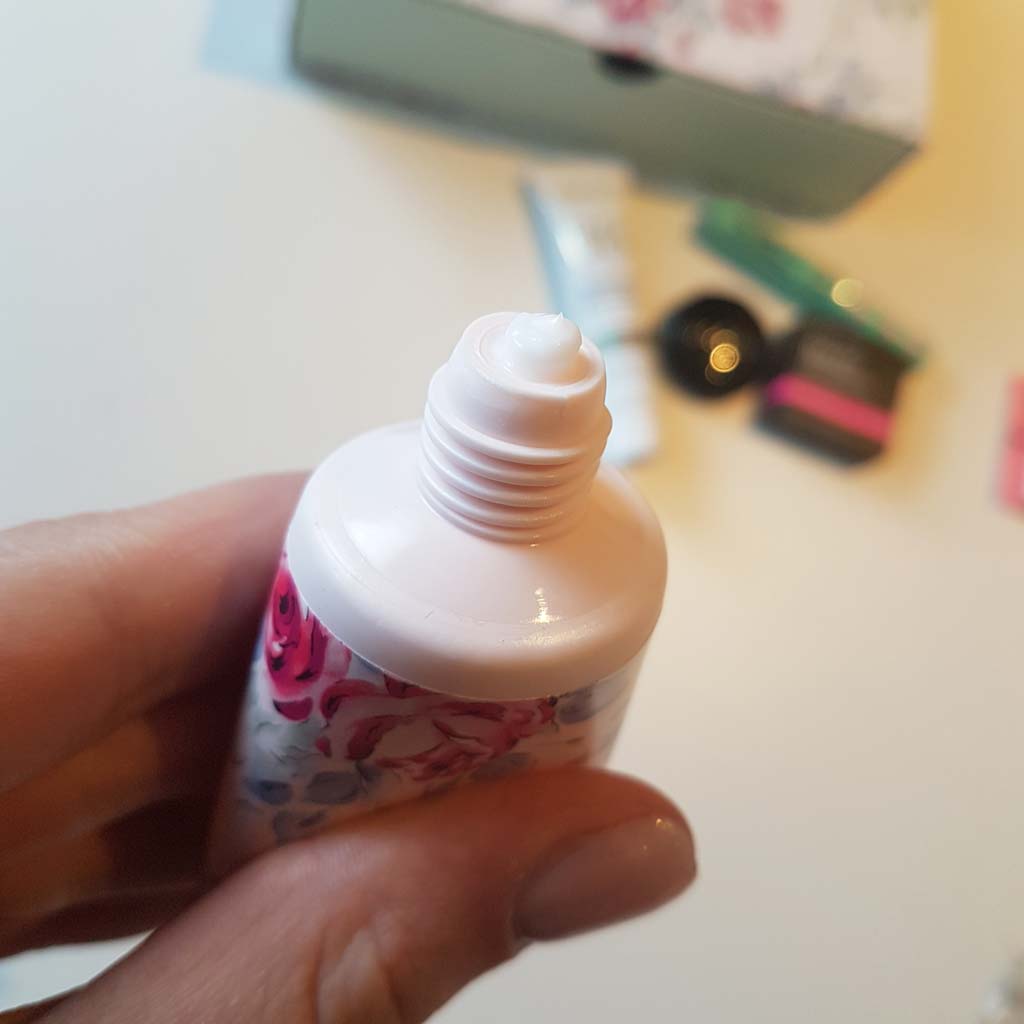
 After much Googling, I do believe this hand cream is cruelty-free. Fab fab fab!
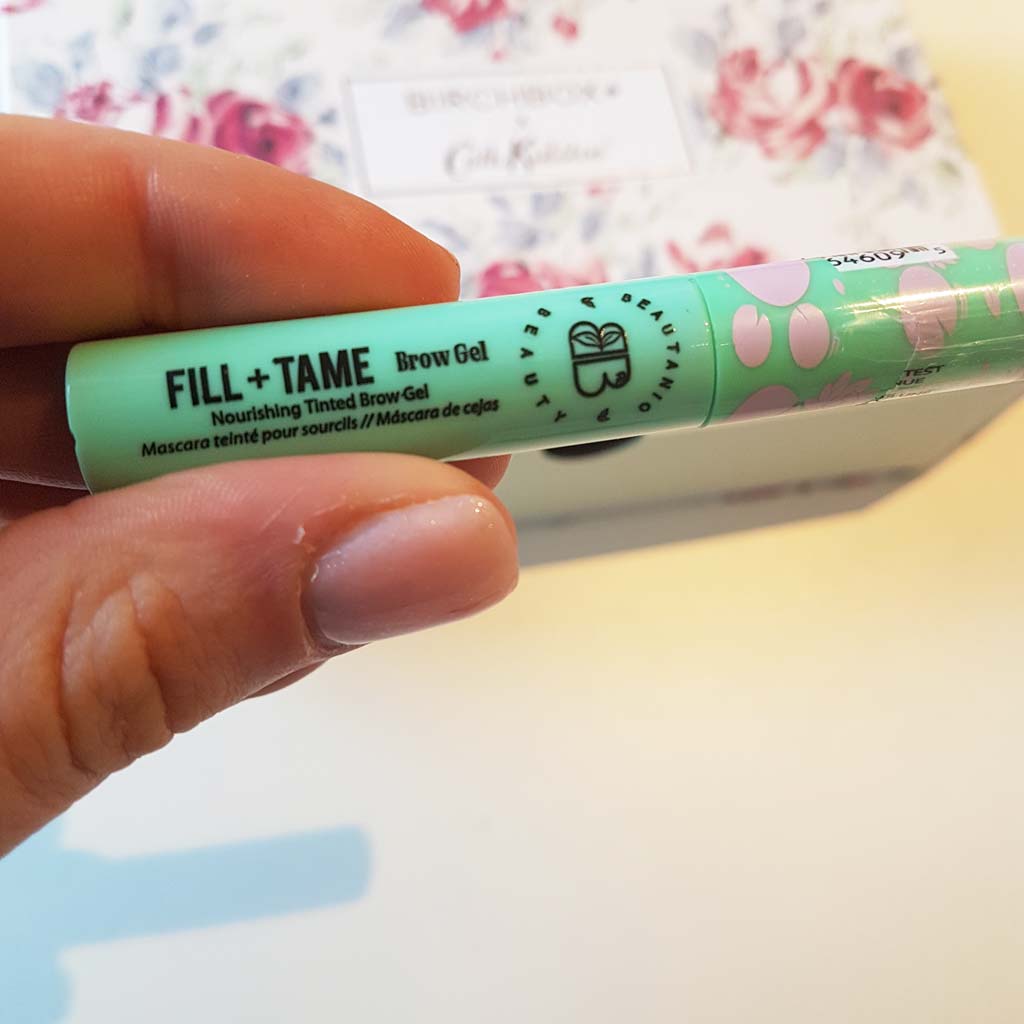

 It has an icon on the tube which says cruelty-free – hurrah!


 Insta
Insta
 Tik Tok
